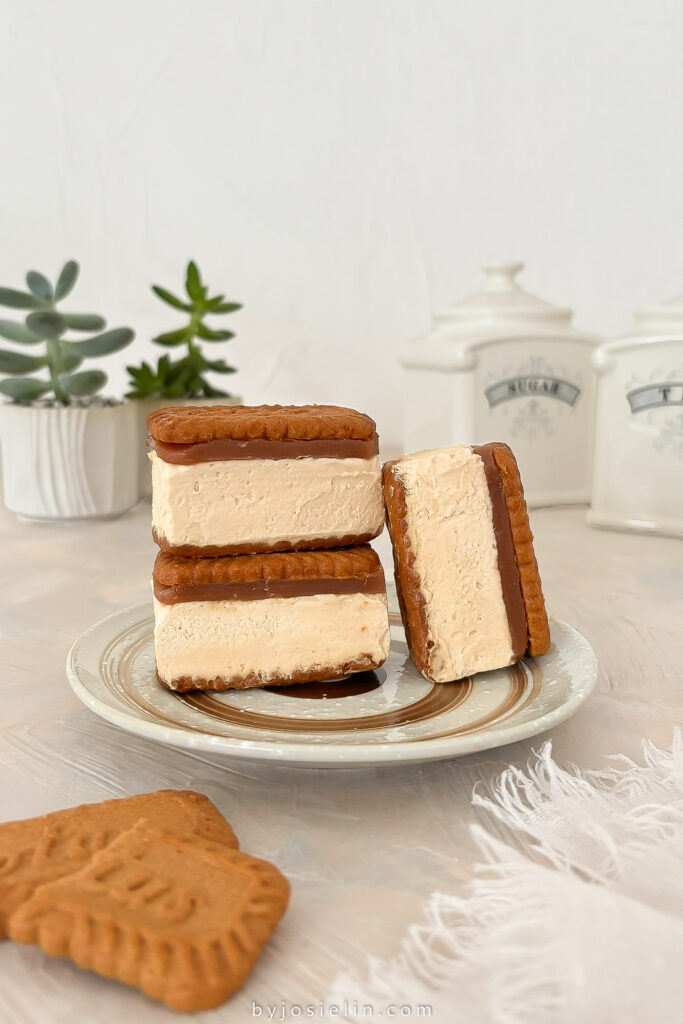
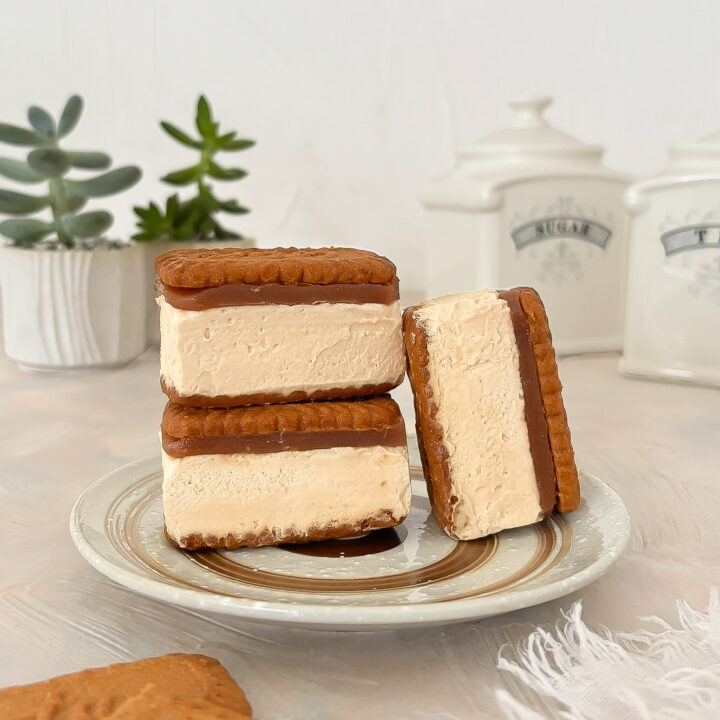
These Caramel Biscoff Ice Cream Sandwiches are fun and super easy to make! No-churn biscoff ice cream, layered with salted caramel, and sandwiched between Lotus biscoff cookies! Oh so good!
I think everyone can agree that ice cream sandwiches are one of the best parts of summer. Creamy ice cream wrapped up in cookies – what’s not to love? These ice cream sandwiches feature no-churn biscoff ice cream that are easy to make and easily hold their shape while staying soft and creamy, then layered with salted caramel, and sandwiched in between Lotus biscoff cookies! These ice cream sandwiches have quickly become one of my favorite frozen dessert that can be whipped up in less than 1 hour. Well, waiting for them to freeze is the hardest part! I love making a big batch so we can keep them in the freezer for those warm evenings when we want something cool and sweet.
WHY YOU’LL LOVE THESE CARAMEL BISCOFF ICE CREAM SANDWICHES
- You only need five basic ingredients that you can easily find at any grocery store!
- Super easy to make and can be whipped up in less than 30 minutes.
- They keep well in the freezer so you can make a big batch and enjoy them for the next few weeks.
- They’re sweet but not too sweet!
INGREDIENTS NEEDED TO MAKE THESE CARAMEL BISCOFF ICE CREAM SANDWICHES
Biscoff Cookies – If you can find the individually wrapped lotus biscoff cookies, that’s amazing! They’re smaller and fit perfectly in an 8-inch square pan. You can also use any similar off brand version that you enjoy.
Biscoff Spread – You can find this biscoff cookie butter spread at most local grocery stores. make sure you grab the creamy smooth one, not the crunchy spread. You can also use Trader Joe’s cookie butter spread, which will also work great.
Salted Caramel – You can use your favorite store bough caramel sauce, but I’d suggest making it by your own.
Heavy Cream – You can use whipping cream for a lighter ice cream or use heavy cream for a richer and creamier texture. Both work well! Make sure your cream is cold, cold cream is easier to whip because its higher fat content solidifies at lower temperatures, creating a lighter, airier texture.
Vanilla Extract – A good quality vanilla extract is needed to provide a lovely background flavor.
Vodka – This is totally optional. Vodka helps to create a smoother, creamier texture by lowering the freezing point, preventing it from becoming rock-solid. If your vanilla extract is homemade and made with vodka, you don’t need to add more vodka.
TOOLS & EQUIPMENT YOU’LL NEED
- Mixing bowls
- Electric mixer
- 8-inch square pan
- Plastic wrap or parchment paper
- Rubber spatula
- Offset spatula
STEP-BY-STEP INSTRUCTIONS TO MAKE THESE CARAMEL BISCOFF BLONDIES
(Be sure to check the printable recipe card below)
No Churn Biscoff Ice Cream:
420g (1 + 3/4 cups) heavy cream, cold
180g (3/4 cup) smooth biscoff cookie butter spread
1/2 teaspoon vanilla extract
1/4 teaspoon vodka, optional
about 30 biscoff cookies
Homemade Salted Caramel Sauce:
125g (1/2 cup + 2 tablespoons) granulated sugar
1 tablespoon water
80g (1/3 cup) heavy cream, room temperature
56g (1/2 stick) unsalted butter
STEP 1 – Prepare the Pan
Line an 8-inch square pan with plastic wrap or parchment paper on all sides. Set aside. Then, warm up the biscoff spread in the microwave in 15-second intervals just until it becomes runny and let it cool slightly while you whipped the cream.
STEP 2 – Make the No-churn Ice Cream
In the bowl of your stand mixer or in a large mixing bowl, combine cold heavy cream and vanilla extract on medium high speed until it becomes medium peaks. Then, lower the speed to low and slowly pour the runny biscoff spread and 1 teaspoon vodka into the whipped cream. Mix until just combined and no streaks remain.
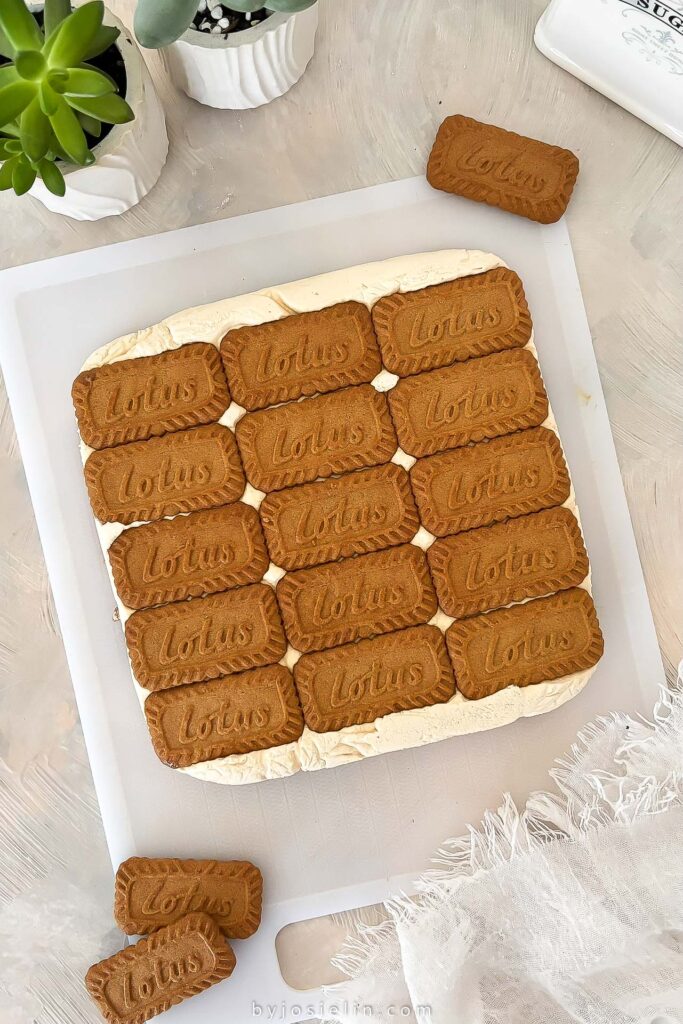
Arrange a layer of biscoff cookies on the bottom of your lined pan, then pour the whipped cream mixture on top of the cookie layer and smooth it into a flat, even layer with an offset spatula. Freeze for at least 30 minutes.
STEP 3 – Layer with Salted Caramel
You can use your favorite store bought salted caramel sauce, or make it from scratch. Here’s how to make a homemade salted caramel sauce:
In a medium light-colored saucepan, heat sugar and water over medium-high heat. Bring the mixture to a boil and don’t stir the mixture at all once it boils, it’ll cause crystallization and grittiness. Cook the sugar until desired light amber color is reached or a candy thermometer reaches 330°F.
After the sugar has melted and caramelized, immediately remove it from the heat and add the room temperature heavy cream, mix until smooth. The caramel will continue to cook even after you remove it from heat, so make sure there’s no delay in adding the cream.
Add the butter, a few pieces at a time, mix until smoothly incorporated. Then, mix in the salt and let the caramel sauce cool completely.
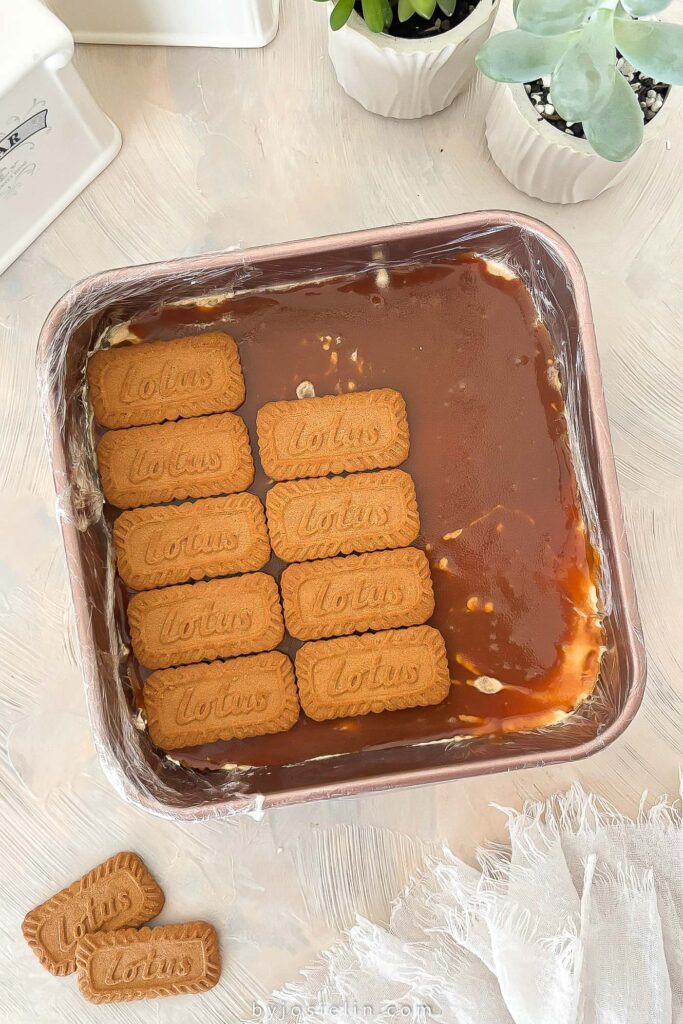
Pour the caramel sauce on top of the frozen ice cream and smooth it into an even layer. Arrange another layer of biscoff cookies on top, matching the orientation with your bottom layer.
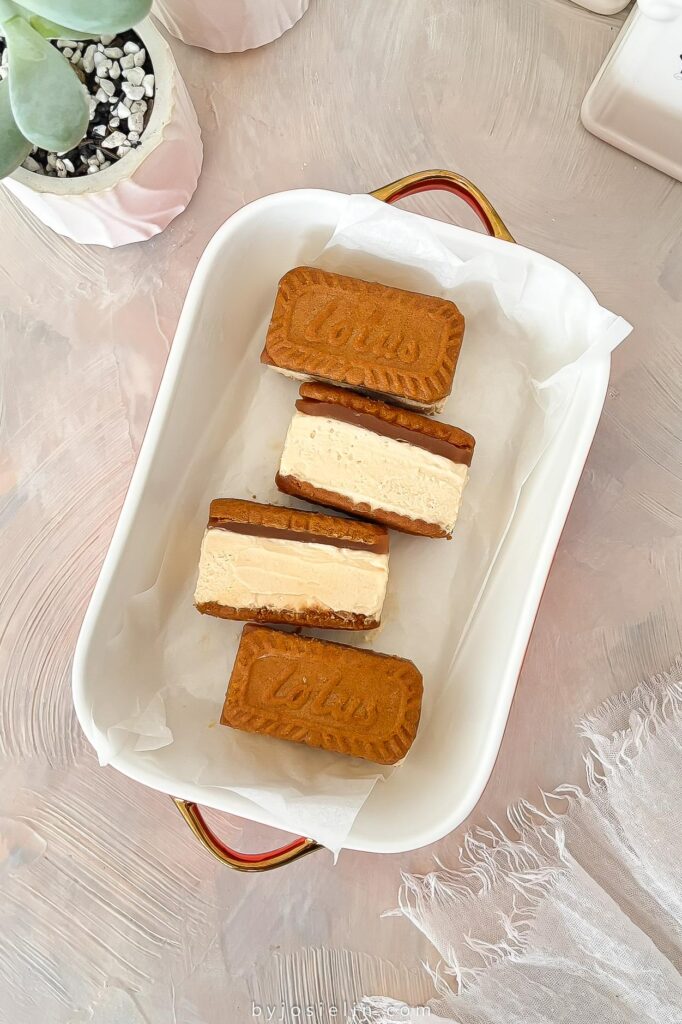
Cover with plastic wrap and freeze for at least 4 hours or preferably overnight. Once frozen, lift the block out of the pan and slice it into as many ice cream sandwiches as you’d like. Enjoy!
Caramel Biscoff Ice Cream Sandwiches
These Caramel Biscoff Ice Cream Sandwiches are fun and super easy to make! No-churn biscoff ice cream, layered with salted caramel, and sandwiched between Lotus biscoff cookies! Oh so good!
Ingredients
No Churn Biscoff Ice Cream
- 420g (1 + 3/4 cups) heavy cream, cold
- 180g (3/4 cup) smooth biscoff cookie butter spread
- 1/2 teaspoon vanilla extract
- 1/4 teaspoon vodka, optional
- about 30 biscoff cookies
Homemade Salted Caramel Sauce
- 125g (1/2 cup + 2 tablespoons) granulated sugar
- 1 tablespoon water
- 80g (1/3 cup) heavy cream, room temperature
- 56g (1/2 stick) unsalted butter
Instructions
STEP 1 – Prepare the Pan
- Line an 8-inch square pan with plastic wrap or parchment paper on all sides. Set aside.
- Then, warm up the biscoff spread in the microwave in 15-second intervals just until it becomes runny and let it cool slightly while you whipped the cream.
STEP 2 – Make the No-churn Ice Cream
- In the bowl of your stand mixer or in a large mixing bowl, combine cold heavy cream and vanilla extract on medium high speed until it becomes medium peaks.
- Lower the speed to low and slowly pour the runny biscoff spread and 1/2 teaspoon vodka into the whipped cream. Mix until just combined and no streaks remain.
- Arrange a layer of biscoff cookies on the bottom of your lined pan, then pour the whipped cream mixture on top of the cookie layer and smooth it into a flat, even layer with an offset spatula.
- Freeze for at least 30 minutes.
STEP 3 – Layer with Salted Caramel
- You can use your favorite store bought salted caramel sauce, or make it from scratch. Here’s how to make a homemade salted caramel sauce:
- In a medium light-colored saucepan, heat sugar and water over medium-high heat. Bring the mixture to a boil and don’t stir the mixture at all once it boils, it’ll cause crystallization and grittiness. Cook the sugar until desired light amber color is reached or a candy thermometer reaches 330°F (166°C).
- After the sugar has melted and caramelized, immediately remove it from the heat and add the room temperature heavy cream, mix until smooth. The caramel will continue to cook even after you remove it from heat, so make sure there’s no delay in adding the cream.
- Add the butter, a few pieces at a time, mix until smoothly incorporated. Then, mix in the salt and let the caramel sauce cool completely.
- Pour the caramel sauce on top of the frozen ice cream and smooth it into an even layer. Arrange another layer of biscoff cookies on top, matching the orientation with your bottom layer.
- Cover with plastic wrap and freeze for at least 4 hours or preferably overnight.
- Once frozen, lift the block out of the pan and slice it into as many ice cream sandwiches as you’d like. Enjoy!