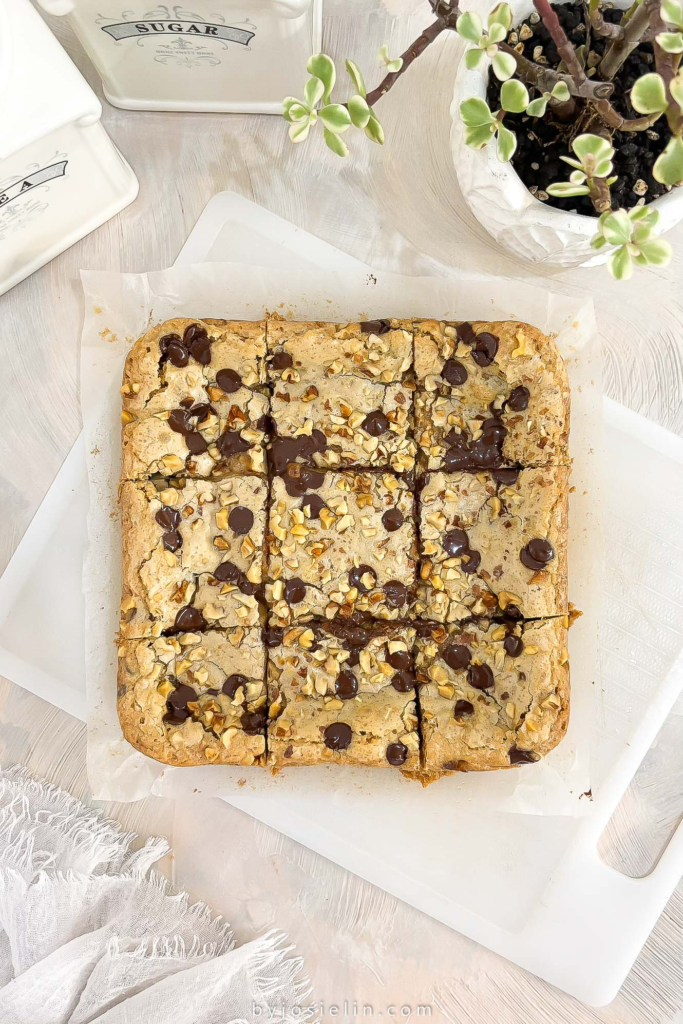
These walnut chocolate chip blondies are everything you want in a simple dessert bar! Chewy edges, soft and slightly gooey center, and plenty of melty chocolate chips and crunchy walnuts in every single bite. They have that rich, buttery flavor that makes you go back for “just one more square”… and then somehow the pan is almost gone.
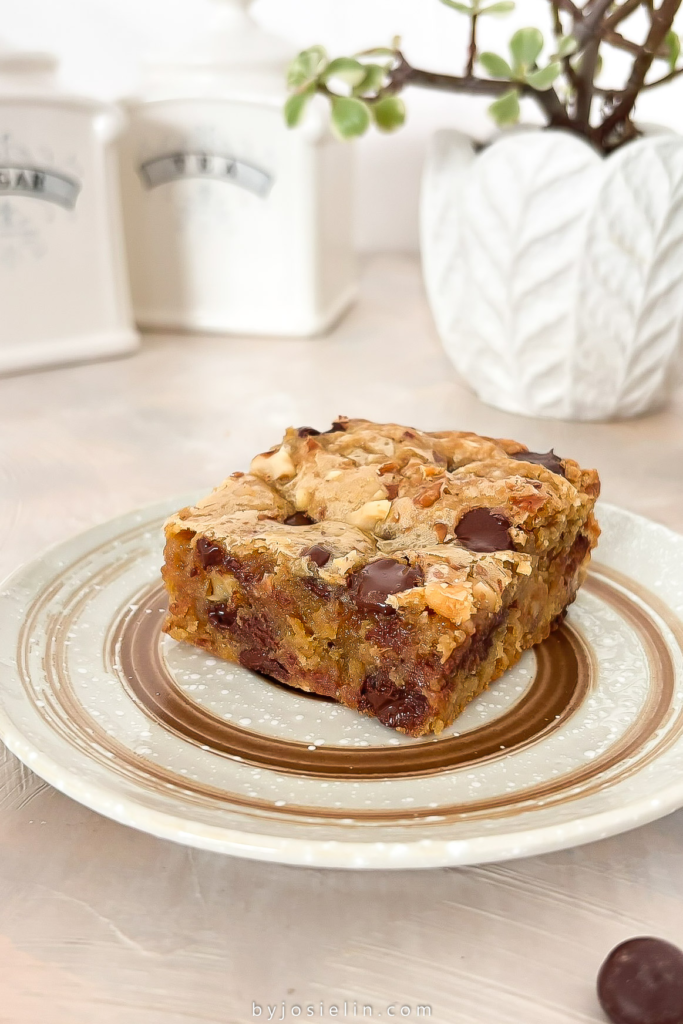
Have you ever tried a blondie before? If not, think of them as the blonde sister to brownies. They have that same dense, chewy, slightly fudgy texture we all love in a brownie, but instead of a deep chocolate base, blondies are built around brown sugar and vanilla. That means you get a warm, caramel-like flavor with buttery notes shining through in every bite.
This recipe is made with brown butter, semi-sweet chocolate, and toasty walnuts! The combination adds the perfect balance of texture and flavor, making them feel a little special while still being incredibly simple to whip up. They’re ridiculously easy to make, no mixer needed, no complicated steps! It’s the kind of recipe you can throw together on a whim when a dessert craving strikes, so whether you’re baking for a holiday tray, a weekend baking project, or just because you’re craving something sweet, these blondies always hit the spot. And trust me, once you try these walnut chocolate chip blondies, they might just become your new go-to treat!
WHY YOU’LL LOVE THESE WALNUT CHOCOLATE CHIP BLONDIES
If you’re looking for a dessert that’s easy, crowd-pleasing, and seriously delicious, these walnut chocolate chip blondies check all the boxes. Here’s why they’re about to become a favorite in your kitchen:
- The texture is EVERYTHING! These blondies bake up with perfectly chewy edges and a soft, slightly gooey center that melts in your mouth. They’re rich and dense in the best way.
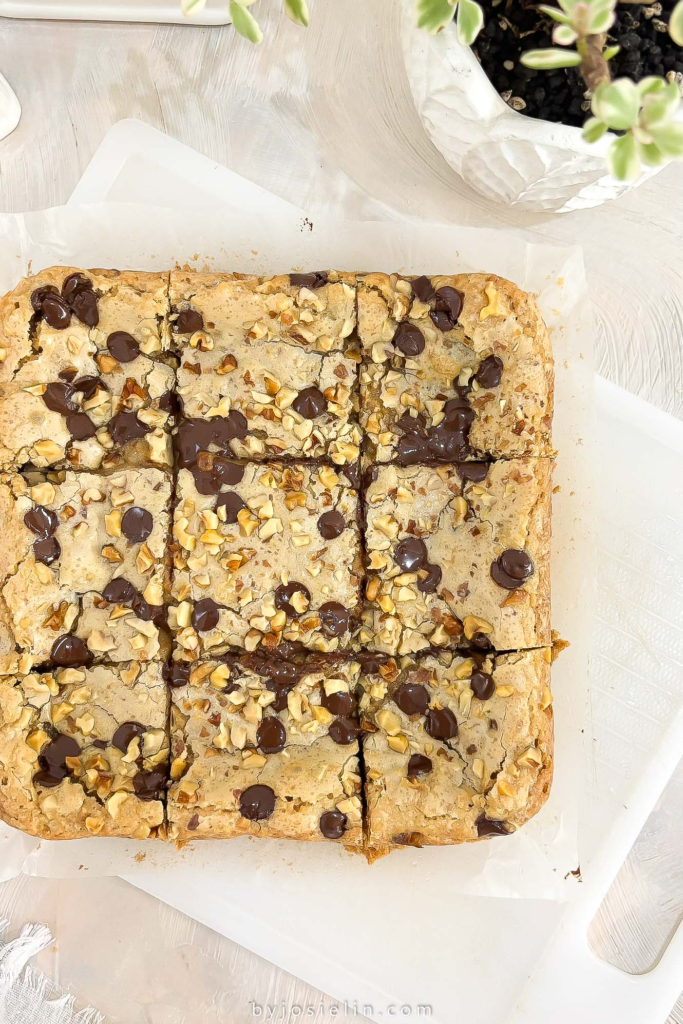
- Loaded with chocolate chips and walnuts. No skimpy mix-ins here! Every bite is packed with melty chocolate chips and crunchy walnuts. The chocolate adds just the right amount of sweetness, while the walnuts bring a toasty crunch that balances it all out.
- Big flavor with simple ingredients. Thanks to brown sugar and brown butter, these blondies have a warm, caramel-like flavor that tastes like you spent way more time on them than you actually did.
- No mixer required. This is the kind of low-effort baking recipe that’s perfect for busy days or last-minute dessert cravings.
- Quick and easy to make. From start to finish, these come together fast. Simple steps, pantry staples, and minimal cleanup? Yes, please.
- Perfect for any occasion. Bake them for holidays, potlucks, bake sales, or just a cozy night at home. They’re one of those desserts that everyone loves, and they disappear fast!
Ingredients Needed
Unsalted Butter – I always use unsalted butter so I can control the exact amount of salt in the recipe. If salted butter is all you have on hand, no worries! Just reduce the added salt by about half (or use a very small pinch). The butter adds richness and gives these blondies that soft, melt-in-your-mouth texture.
Brown Sugar – This is what gives blondies their signature butterscotch, caramel-like flavor. Brown sugar contains more moisture than white sugar, which is key for creating that chewy, slightly gooey texture. I typically use light brown sugar, but dark brown sugar works too and will give you a deeper, more intense molasses flavor.
Granulated Sugar – I love a chewy blondie, but not too chewy. That’s why I use a mix of brown and white sugar. Granulated sugar helps create slightly crisp edges and a lighter color, while also balancing the overall texture so the bars aren’t overly dense.
Eggs – Eggs add structure, tenderness, and just enough lift. They help bind everything together while keeping the blondies soft. For best results, make sure your eggs are at room temperature, they’ll mix more evenly into the batter.
Vanilla – Flavor, flavor, flavor! Since blondies are vanilla-based (not chocolate-based like brownies), using a good-quality vanilla makes a big difference. It really shines here, so use one you love. I’d suggest using vanilla bean paste.
All-Purpose Flour – Measuring flour correctly is important. Too much flour can make your blondies dry and tough instead of soft and chewy. Use the spoon-and-level method (don’t scoop directly from the bag), or weigh it with a kitchen scale for accuracy.
Baking Powder – Just enough to give the blondies a slight lift. We’re not going for cake here, just a little rise to keep them soft without losing that dense, chewy texture.
Salt – Don’t skip it! Salt balances the sweetness and enhances all the other flavors. It’s the small ingredient that makes a big difference.
Chocolate Chips – I use dark chocolate chips for the perfect balance of sweetness, around 60–75%. I wouldn’t recommend milk chocolate, as it can make the blondies overly sweet.
Toasted Walnuts – Chocolate and nuts are a classic pairing, and toasted walnuts bring the best flavor and crunch. Toasting them enhances their natural nuttiness and adds another layer of texture to every bite.
Flaky Sea Salt – A light sprinkle on top before or after baking adds a subtle salty contrast that really elevates the sweetness. It’s optional, but highly recommended if you love that sweet-and-salty combo!
Equipment you’ll need:
- Large mixing bowl
- a Whisk or electric mixer
- 8-inch square baking pan
- Parchment paper
- Rubber spatula
- Kitchen scale or measuring cups and spoons
STEP-BY-STEP INSTRUCTION TO MAKE THESE WALNUT CHOCOLATE CHIP BLONDIES
226g (2 sticks) unsalted butter, browned
220g (1 cup) light brown sugar
100g (1/2 cup) granulated sugar
2 large eggs
1 teaspoon vanilla bean paste or vanilla extract
250g (2 cups, spoon and level method) all-purpose flour
1 teaspoon baking powder
1/2 teaspoon salt
127g (3/4 cup) dark chocolate chips
110g (1 cup) roasted walnuts, chopped
STEP 1 – Brown the Butter
Add the butter to a small, light-colored saucepan and place it over medium heat. (Using a light-colored pan helps you see the color change so it doesn’t burn.) Stir continuously to keep the butter moving and to ensure it cooks evenly. Once melted, it will start to crackle, foam, and sizzle around the edges, that’s exactly what you want. Keep stirring the entire time, which usually takes about 5–7 minutes.
After a few minutes, you’ll notice golden brown bits forming at the bottom of the pan and the butter turning a beautiful amber color. As soon as it reaches that deep golden color, immediately remove it from the heat and pour it into a heatproof bowl to stop the cooking process. Be sure to scrape in all those browned bits from the bottom of the pan, that’s where all the flavor is! Let it cool slightly for about 8 minutes before using.
STEP 2 – Make the Walnut Chocolate Chip Blondies
Preheat your oven to 350°F (175°C). Line an 8-inch square baking pan with parchment paper, leaving some overhang on the sides to create a sling. This makes it super to lift the blondies out of the pan later.
In a medium bowl, sift together the all-purpose flour, baking powder, and salt. Give it a quick whisk to evenly distribute everything, then set aside.
In a large mixing bowl, combine the slightly cooled brown butter, brown sugar, granulated sugar, eggs, and vanilla extract. Whisk until smooth and well combined, about 2 minutes. The mixture should look glossy and thick.
Gradually add the dry ingredients. Mix just until combined and no more flour is visible. Be careful not to overmix, as that can make the blondies tough. Once you no longer see streaks of flour, fold in the chocolate chips and chopped walnuts.
Pour the batter into your prepared pan and spread it out evenly, smoothing the top with a spatula. Bake for about 28 minutes, or until the edges are set and lightly golden brown. The center may still look slightly soft or a little wobbly, that’s perfect! The blondies will continue to cook and firm up as they cool, giving you that chewy, gooey center.
Let the blondies cool in the pan for at least 15 minutes. Then, use the parchment sling to lift them out and transfer to a wire rack to cool completely. Once fully cooled, slice into 9 larger squares or 16 smaller bars. Enjoy and try not to eat them all at once!
TIPS FOR MAKING THE BEST WALNUT CHOCOLATE CHIP BLONDIES
- Don’t overmix the batter. Mix just until the ingredients are combined and you no longer see streaks of flour. Overmixing can develop too much gluten, which leads to dense or tough blondies instead of soft and chewy ones.
- Use high quality butter and vanilla. Blondies are vanilla-forward, so the flavor really shines through. A good quality vanilla and butter make a noticeable difference in taste.
- Brown the butter carefully. If you’re browning your butter, keep stirring and watch it closely. Those golden brown bits at the bottom are pure flavor, but they can burn quickly if you’re not paying attention.
- Measure your flour correctly. Spoon and level your flour or use a kitchen scale. Too much flour is one of the most common reasons blondies turn out dry.
- Don’t overbake. The edges should be set and lightly golden, while the center may look slightly soft. They’ll continue to cook as they cool, giving you that perfect chewy, gooey texture.
- Toast the walnuts. Toasting enhances their nutty flavor and adds an extra layer of depth to the blondies. It’s a small step that makes a big difference.
- Let them cool before slicing. Allow the blondies to cool for at least 15 minutes (or fully, if you want super clean cuts).
HERE’S HOW TO STORE THESE WALNUT CHOCOLATE CHIP BLONDIES
At Room Temperature – Once completely cooled, store the blondies in an airtight container at room temperature for up to 3 days. Place a piece of parchment paper between layers if you’re stacking them to prevent sticking. They’ll stay soft and chewy this way.
In the Refrigerator – You can refrigerate them for up to 1 week, but keep in mind they may firm up slightly. Let them sit at room temperature for 20–30 minutes before serving to bring back that soft, gooey texture.
Freezing for Later – Blondies freeze beautifully! Wrap individual squares tightly in plastic wrap, then place them in a freezer-safe bag or container. Freeze for up to 3 months. When ready to enjoy, thaw at room temperature or warm in the microwave for about 10–15 seconds for that fresh-baked feel.
Walnut Chocolate Chip Blondies
These walnut chocolate chip blondies are everything you want in a simple dessert bar! Chewy edges, soft and slightly gooey center, and plenty of melty chocolate chips and crunchy walnuts in every single bite. They have that rich, buttery flavor that makes you go back for “just one more square”… and then somehow the pan is almost gone.
Ingredients
- 226g (2 sticks) unsalted butter, browned
- 220g (1 cup) light brown sugar
- 100g (1/2 cup) granulated sugar
- 2 large eggs
- 1 teaspoon vanilla bean paste or vanilla extract
- 250g (2 cups, spoon and level method) all-purpose flour
- 1 teaspoon baking powder
- 1/2 teaspoon salt
- 127g (3/4 cup) dark chocolate chips
- 110g (1 cup) roasted walnuts, chopped
Instructions
STEP 1 – Brown the Butter
- Add the butter to a small, light-colored saucepan and place it over medium heat. (Using a light-colored pan helps you see the color change so it doesn’t burn.)
- Stir continuously to keep the butter moving and to ensure it cooks evenly.
- Once melted, it will start to crackle, foam, and sizzle around the edges, that’s exactly what you want. Keep stirring the entire time, which usually takes about 5–7 minutes.
- After a few minutes, you’ll notice golden brown bits forming at the bottom of the pan and the butter turning a beautiful amber color.
- As soon as it reaches that deep golden color, immediately remove it from the heat and pour it into a heatproof bowl to stop the cooking process.
- Be sure to scrape in all those browned bits from the bottom of the pan, that’s where all the flavor is! Let it cool slightly for about 8 minutes before using.
STEP 2 – Make the Walnut Chocolate Chip Blondies
- Preheat your oven to 350°F (175°C). Line an 8-inch square baking pan with parchment paper, leaving some overhang on the sides to create a sling. This makes it easy to lift the blondies out of the pan later.
- In a medium bowl, sift together the all-purpose flour, baking powder, and salt. Give it a quick whisk to evenly distribute everything, then set aside.
- In a large mixing bowl, combine the slightly cooled brown butter, brown sugar, granulated sugar, eggs, and vanilla extract. Whisk until smooth and well combined, about 2 minutes. The mixture should look glossy and thick.
- Gradually add the dry ingredients. Mix just until combined and no more flour is visible. Be careful not to overmix, as that can make the blondies tough.
- Once you no longer see streaks of flour, fold in the chocolate chips and chopped walnuts.
- Pour the batter into your prepared pan and spread it out evenly, smoothing the top with a spatula.
- Bake for about 30 minutes, or until the edges are set and lightly golden brown. The center may still look slightly soft or a little wobbly, that’s perfect! The blondies will continue to cook and firm up as they cool, giving you that chewy, gooey center.
- Let the blondies cool in the pan for at least 15 minutes. Then, use the parchment sling to lift them out and transfer to a wire rack to cool completely.
- Once fully cooled, slice into 9 larger squares or 16 smaller bars. Enjoy and try not to eat them all at once!